
Building upon the foundations laid in our previous article, where we explored the initial setup of Ubuntu with essential software and tools like tmux, Nvidia drivers, and command-line utilities including vim and customizing arrow-keys, this part of the series dives deeper into optimizing our environment for advanced development. We will install and configure Anaconda for Python environment management, set up PyTorch for machine learning projects, and integrate VSCode with remote SSH for a seamless coding experience.
System Setup Part 2
Install Anaconda
Anaconda is a powerful and widely-used tool for managing Python environments and packages, simplifying the process of working with Python and its numerous libraries. Let’s install Anaconda on our Ubuntu system.
Steps to Install Anaconda:
-
Obtain a Copy of the Anaconda Installer:
Start by visiting the official Anaconda installation page to find the latest version. Download the installer using the command:
1
 wget https://repo.anaconda.com/archive/Anaconda3-2023.09-0-Linux-x86_64.sh
-
Run the Installer:
Now, execute the downloaded script to install Anaconda:
1
 bash Anaconda3-2023.09-0-Linux-x86_64.sh
During the installation, you’ll have the option to automatically activate the base environment. It’s your choice to enable or disable this feature:
1
2
 # To disable auto-activation of the base environment
 conda config --set auto_activate_base false
-
Create a New Environment for PyTorch:
Creating separate environments for each project is a best practice in Python development. For a PyTorch project, create an environment as follows:
1
 conda create -n pytorch python=3.11
-
Activate the New Environment:
With the environment set up, activate it to start using:
1
 conda activate pytorch
In the next sections, we’ll install PyTorch within this environment and verify its setup, especially focusing on GPU support, a crucial aspect for machine learning tasks. Stay tuned for the continuation of this guide, where we will also cover setting up VSCode with remote SSH capabilities, allowing you to work on your Ubuntu server directly from your local machine.
Install PyTorch
With Anaconda successfully set up, the next step in enhancing our machine learning environment is to install PyTorch. This powerful library is essential for developing and training deep learning models, offering flexibility and efficiency, especially when working with GPU acceleration.
Steps to Install PyTorch:
-
Determine the Appropriate Installation Command:
To ensure compatibility with your system, especially regarding CUDA versions for GPU support, it’s important to select the correct installation command. The PyTorch official website provides a helpful tool for generating the command based on your environment.
![PyTorch Installation Command]()
-
Installation with CUDA Support:
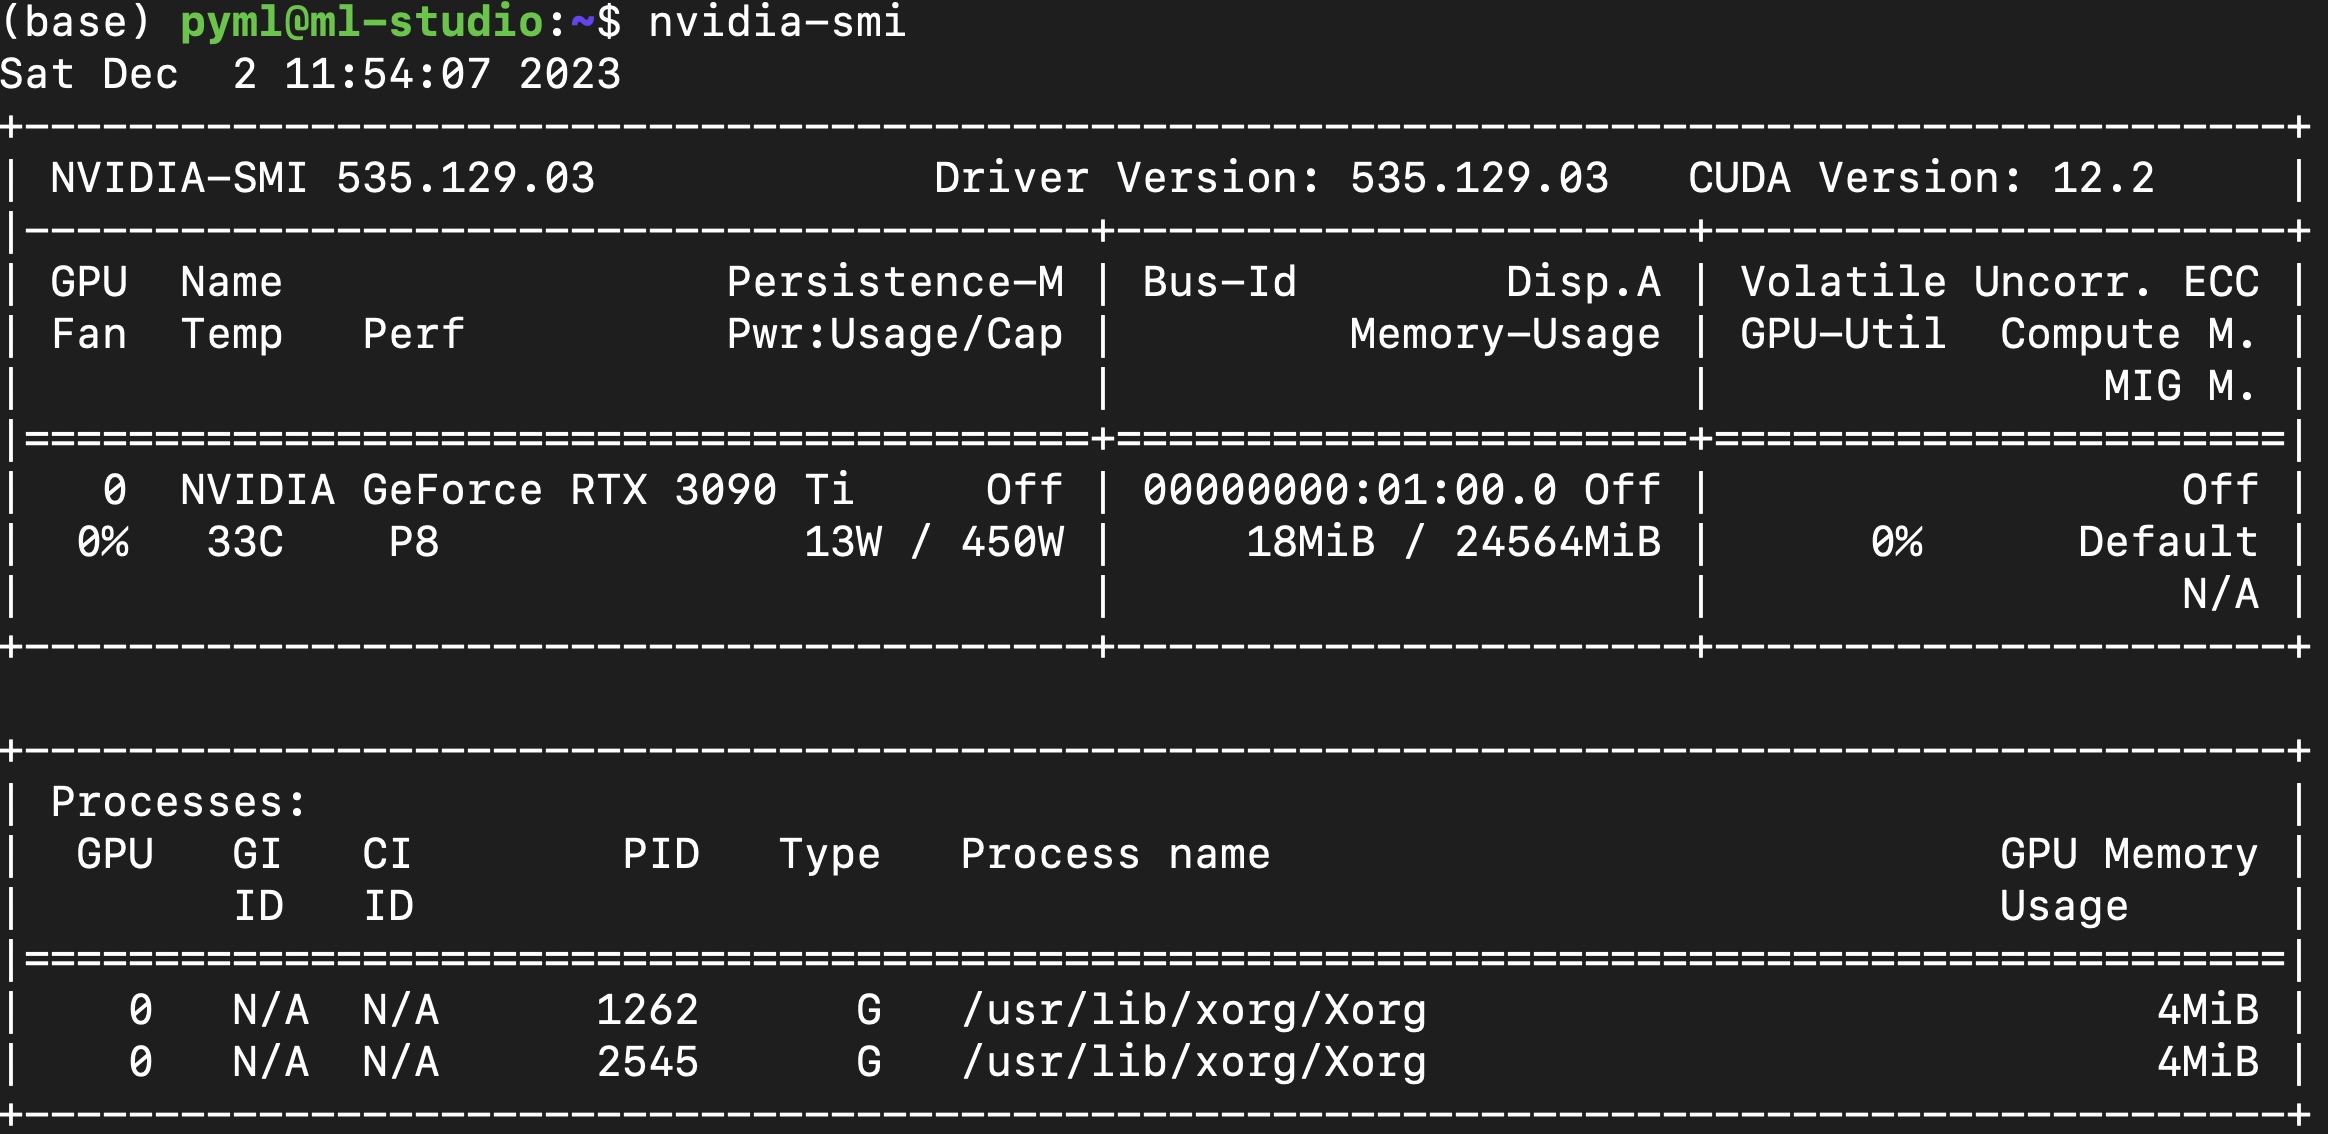
For those with NVIDIA GPUs, installing PyTorch with CUDA support is crucial for leveraging the full computational power of the GPU. This significantly enhances the model training process. As an example, to install PyTorch with CUDA version 12.1, the following command can be used:
1
 conda install pytorch torchvision torchaudio pytorch-cuda=12.1 -c pytorch -c nvidia
![NVIDIA SMI]()
This command not only installs PyTorch but also torchvision and torchaudio, which are valuable for computer vision and audio processing tasks, respectively.

Next Steps:
Having installed PyTorch, it’s essential to verify its proper installation and GPU accessibility. We’ll do this by running a simple test in Python, ensuring that PyTorch can utilize the GPU for its computations. This verification step is vital for harnessing the power of GPUs in deep learning.
In the upcoming section, we’ll focus on installing additional Python packages using pip. These packages are crucial for various data processing and machine learning tasks, further enriching our development environment.
Additional Python Packages
To further enhance our Python environment, we’ll install a range of essential packages. These packages provide various functionalities, from data analysis to advanced computation. The easiest way to manage these installations is through a requirements.txt file.
1
2
3
4
5
6
7
8
9
10
11
12
13
14
ipython
jupyterlab
matplotlib
seaborn
pandas
scikit-learn
scipy
mlflow
lightning
pytorch-lightning

pydantic
pytest-cov
pytest_steps
Once you have created your requirements.txt file with the necessary packages listed, install them using the following command:
1
pip install -r requirements.txt
This command reads the list of requirements from the file and installs each package, ensuring your Python environment is fully equipped for your upcoming projects.
Certainly, here’s the next section of your Jekyll blog post in Markdown format, focusing on testing the PyTorch installation with GPU support:
Testing the Installation with GPU
An essential step after installing PyTorch, especially for high-performance computing tasks, is to verify that it can successfully access the GPU. This confirmation is critical for leveraging the power of GPU acceleration in your machine learning or deep learning projects.
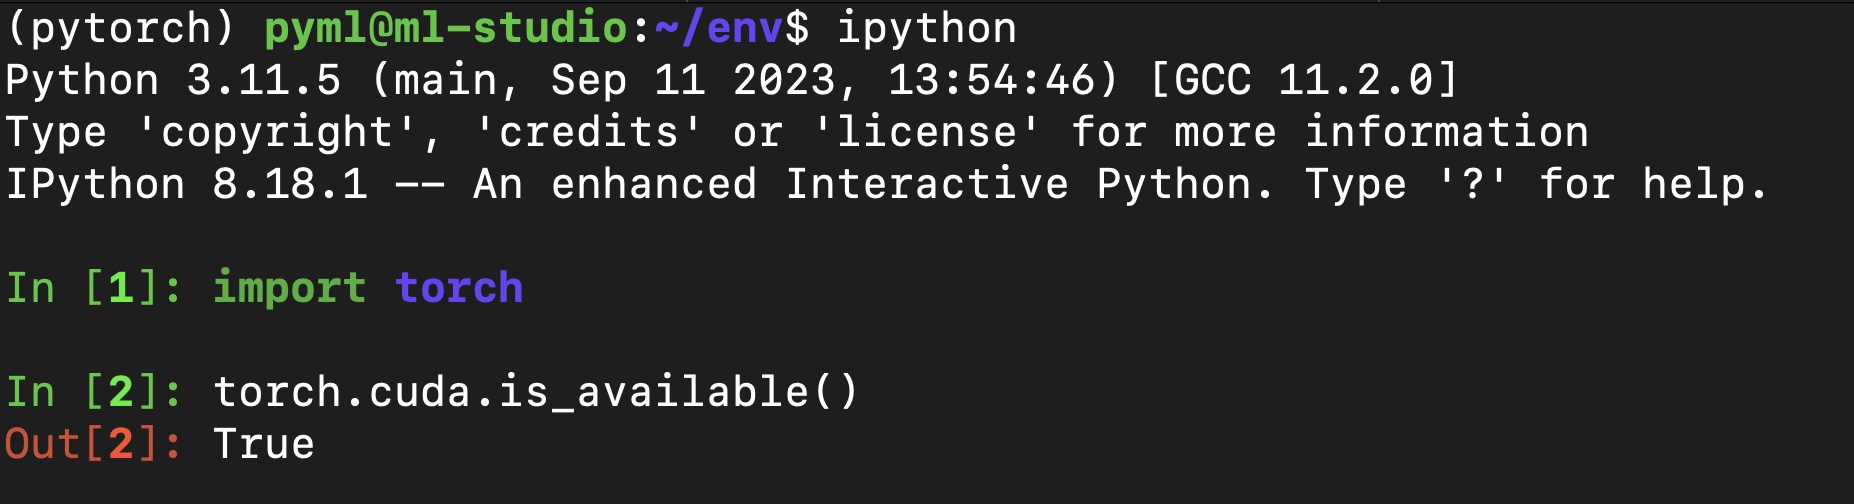
Run the following Python script to test if PyTorch recognizes your GPU:
1
2
3
4
5
6
7
import torch

print(torch.cuda.is_available())  # Should return True if GPU is available

device = torch.device('cuda')     # Use CUDA device

a = torch.rand(1000).to(device)   # Create a tensor and move it to GPU
This script checks for the availability of CUDA (which underpins PyTorch’s GPU support) and attempts to perform a basic operation on the GPU. If torch.cuda.is_available() returns True, it confirms that PyTorch is set up correctly and can access the GPU.
Successfully running this test indicates that your PyTorch installation is ready for GPU-accelerated computing, unlocking new levels of performance for your computational tasks.
Set up VSCode Remote Access
A crucial aspect of a streamlined development process is the ability to access and work on your remote server directly from your local machine. Visual Studio Code (VSCode) offers an excellent solution for this through its Remote - SSH extension. Here’s how to set it up:
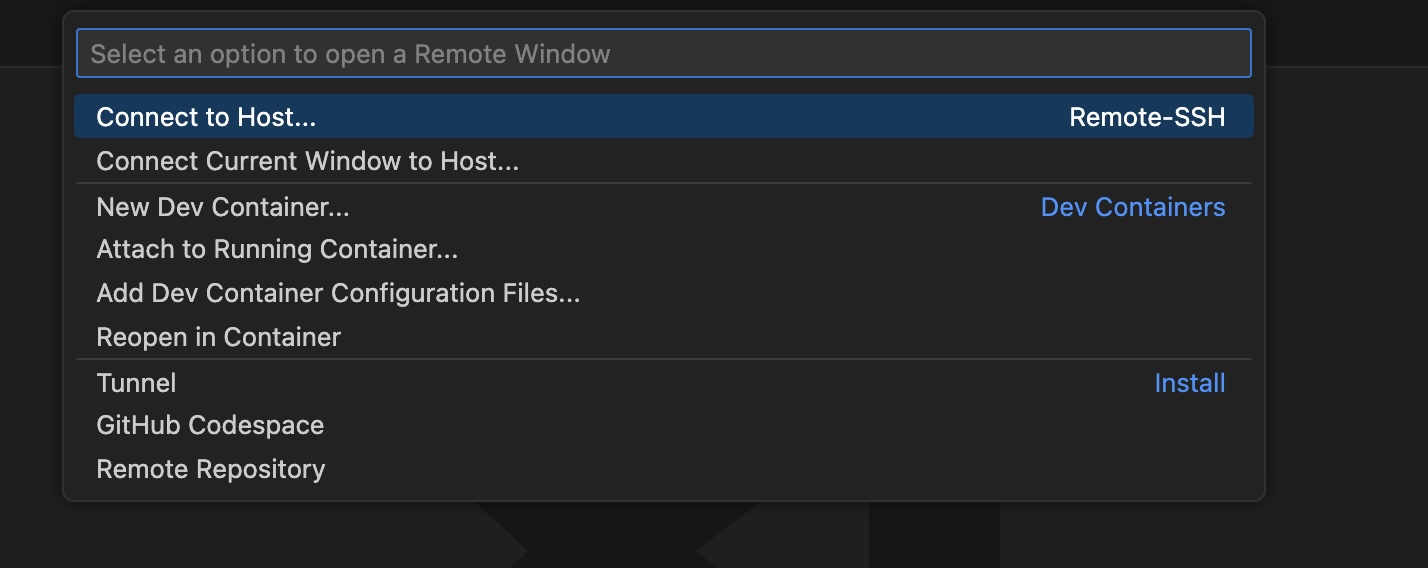
Step 1: Install the Remote - SSH Extension
Open VSCode on your local machine and install the Remote - SSH extension. This extension allows VSCode to connect to and interact with a remote server over SSH.

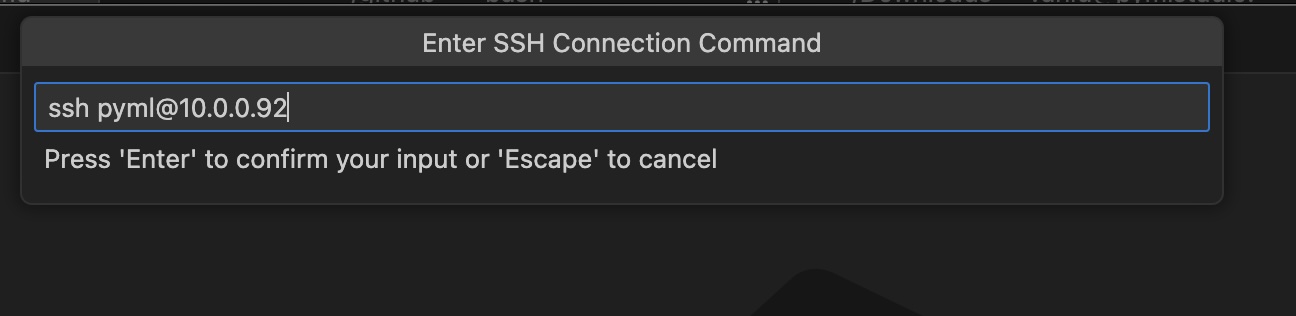
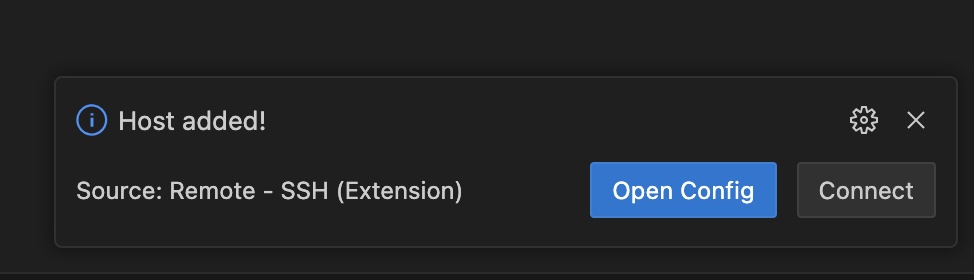
Step 2: Add a New Host
Add your remote server as a new host in VSCode. This step involves specifying the SSH command to connect to your server.
1
ssh username@ip-address
Replace username with your username on the remote server, and ip-address with the server’s IP address.
 |
 |
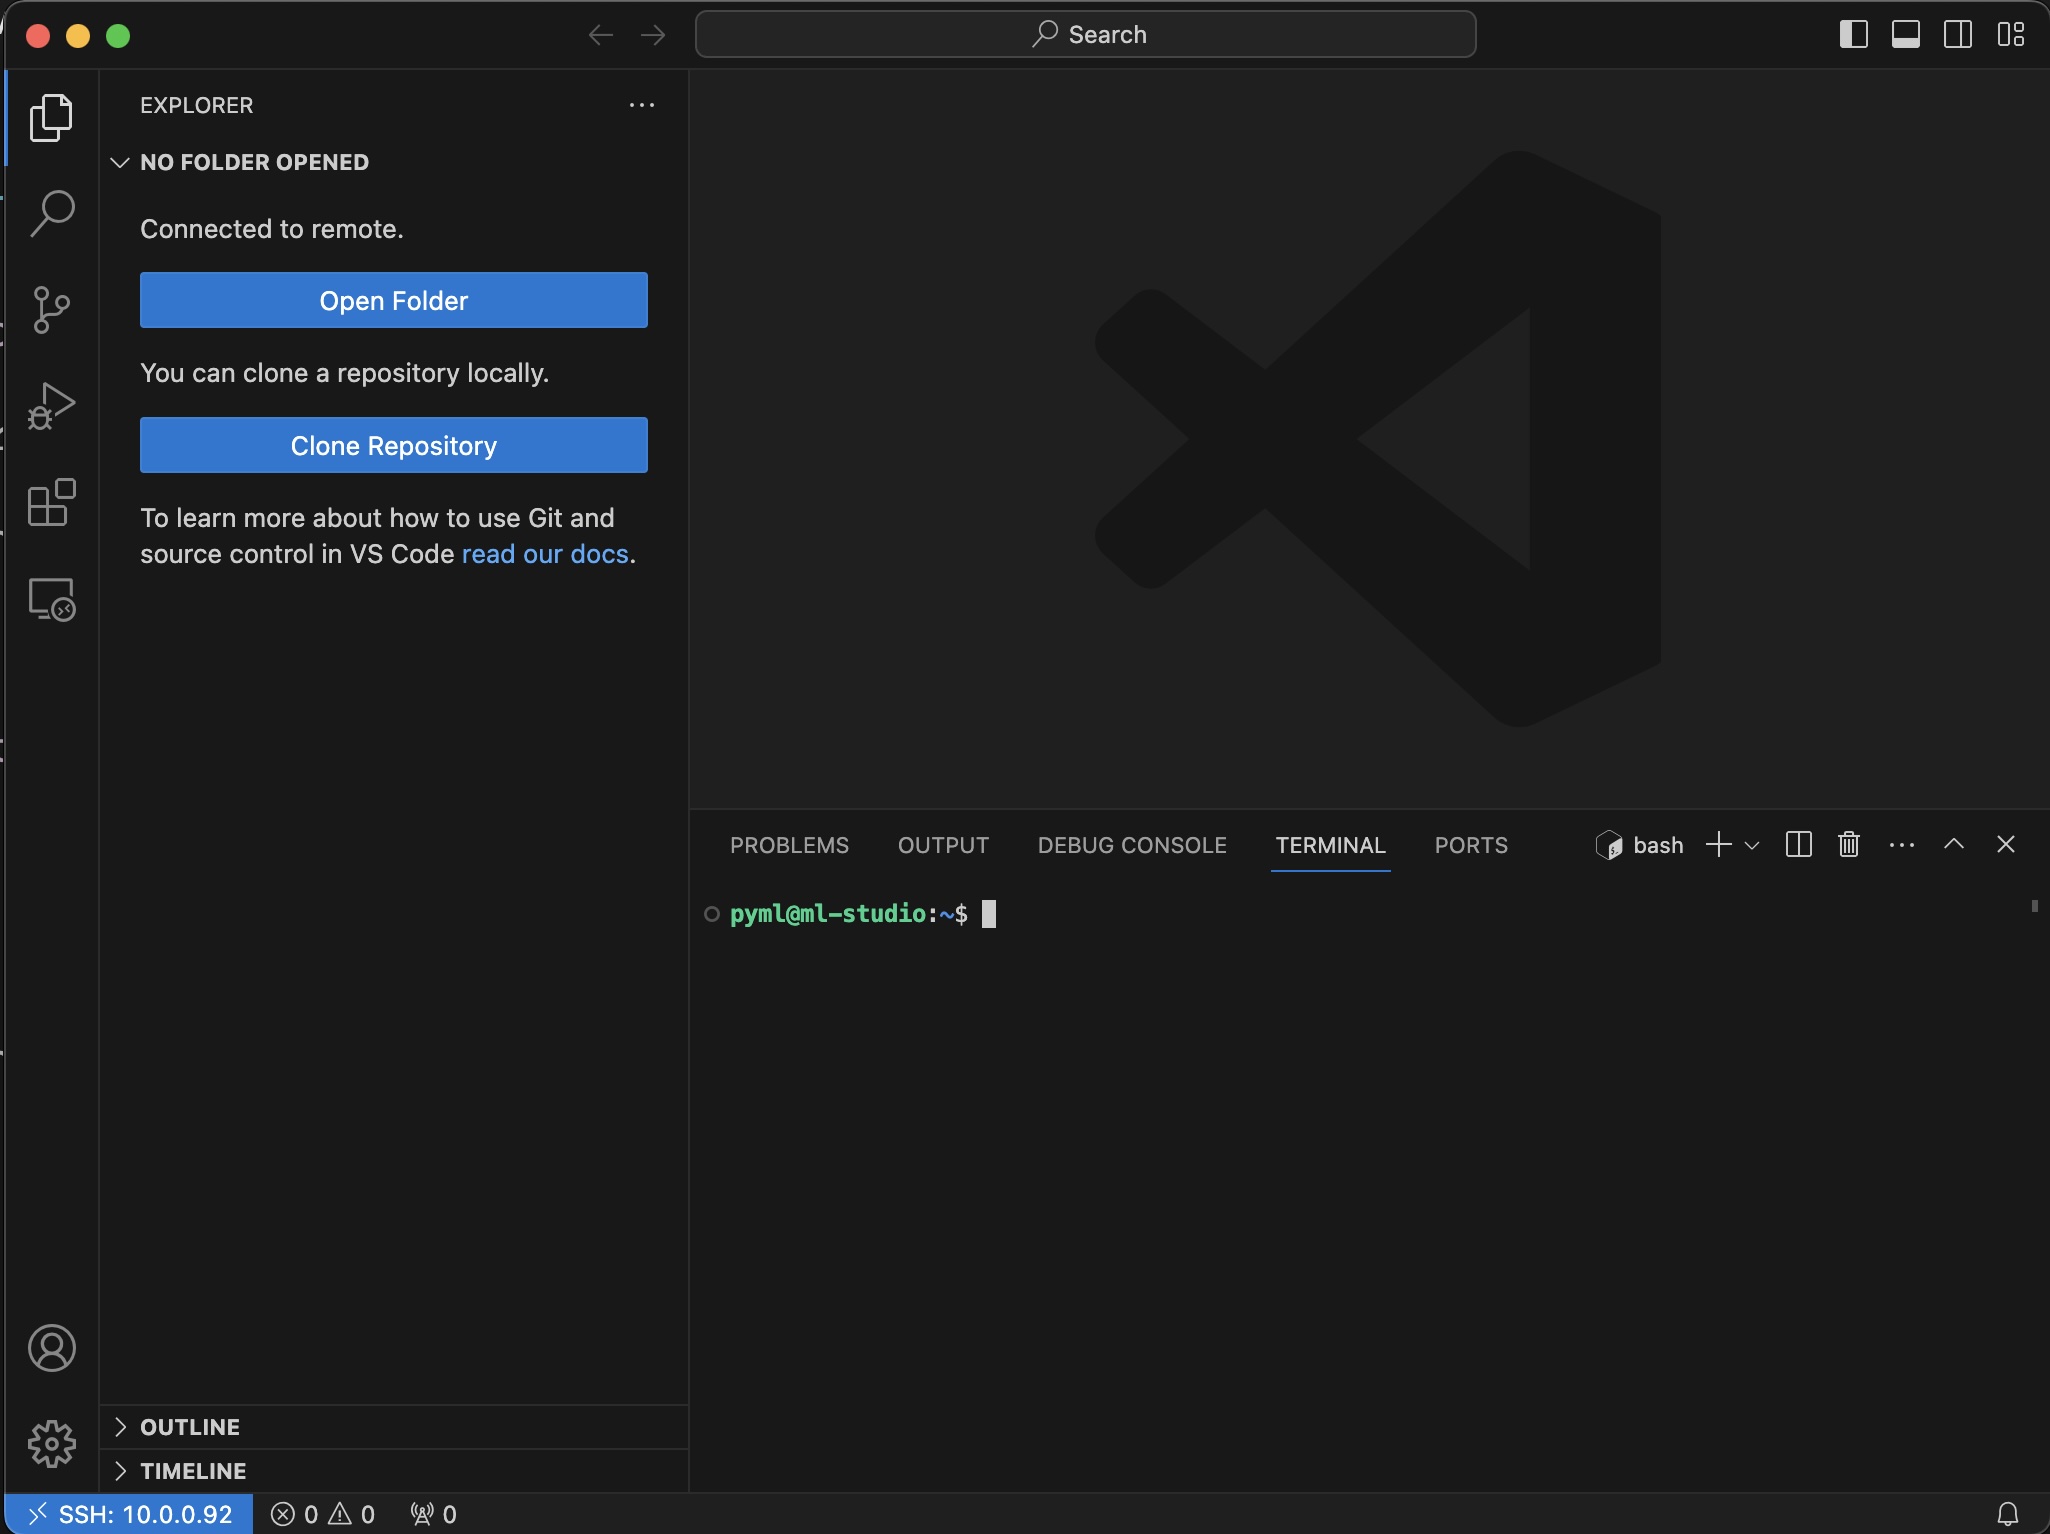
Step 3: Connect to the Host
Finally, connect to your remote host by selecting it from the list of SSH targets in VSCode. This will open a new VSCode window connected to your remote server, where you can work directly on your remote files.
Summary
Throughout this guide, we’ve significantly enhanced our system setup, building upon the foundation laid in the previous article. We’ve installed and configured Anaconda for Python environment management, set up PyTorch for machine learning with GPU support, and enabled a powerful remote development workflow with VSCode. These tools and configurations provide a robust, flexible environment, catering to a wide range of development needs, from data science to machine learning. With this setup, you’re well-equipped to tackle advanced computational tasks efficiently and effectively.